How to Make Gimkit: Step-by-Step Guide for Teachers & Students
Have you ever seen a classroom where every student is sitting on the edge of their seat, eyes glued to their screen, and actually cheering for math or science? That is the magic you get when you make Gimkit part of your school day. If you are tired of boring old flashcards, you are in the right place! Gimkit is not just another quiz tool; it is a full-blown strategy game where students earn virtual cash, buy cool power-ups, and compete in epic battles.
When I first tried to make Gimkit games for my group, I was shocked at how fast it worked. The students didn’t just learn the facts—they became obsessed with mastering them. It feels more like playing a video game than doing homework. In this guide, I will show you exactly how to make Gimkit sets from scratch, how to use Gimkit Live for class competitions, and how to find everything you need on your Gimkit Home dashboard. Let’s dive in!
Meet the Creator: Josh Feinsilber Biography
Before we learn how to make Gimkit, it is pretty cool to know who started it. Unlike many big tech apps made by adults in suits, Gimkit was actually built by a high school student! Josh Feinsilber wanted a way to make school more exciting, so he coded the first version as a school project.
| Detail | Information |
| Full Name | Josh Feinsilber |
| Role | Co-founder and Lead Developer |
| Hometown | Seattle, Washington |
| Education | Gibson Ek High School |
| Launch Year | 2017 (Originally as Gimlet) |
| Key Partners | Jeff Osborn (Co-founder) |
| Company Mission | To create memorable learning experiences |
Step 1: Setting Up Your Gimkit Home
The first thing you need to do is visit Gimkit Home. This is your main control center. To get started, you just need an email or a Google account. Once you log in, you will see a clean dashboard. This is where all your “Kits” live. A Kit is basically your set of questions and answers.
To make Gimkit work for you, take a moment to look around the Gimkit Home screen. You will see buttons for “Kits,” “Assignments,” and “Classes.” If you are a teacher, you can import your student rosters here to keep track of how everyone is doing. It is very simple and only takes a few clicks to set up your profile.
Step 2: Starting Your First Kit
Ready to build? To make Gimkit games, click the “New Kit” button on your dashboard. You will need to give your game a name, pick a language, and choose a subject. You can even add a fun cover photo to make it look professional!
When you make Gimkit sets, you have two choices: you can write your own questions or import them from elsewhere. Many people like to use Quizlet to bring in their old flashcards. This saves a lot of time! If you choose to write your own, you can add images and even audio to help students who might have trouble reading.
Step 3: Adding Questions Like a Pro
When you make Gimkit questions, keep them clear and fair. You will type your question in the top box and then provide the correct answer. You also need to add at least three “distractors” or wrong answers. Try to make the wrong answers look believable so students really have to think!
One of my favorite tips when you make Gimkit is to use the “Question Bank.” This lets you search through millions of questions other teachers have already made. It is like having a giant library of knowledge at your fingertips. You can mix and match these with your own questions to create the perfect quiz.
Step 4: Choosing the Best Game Mode
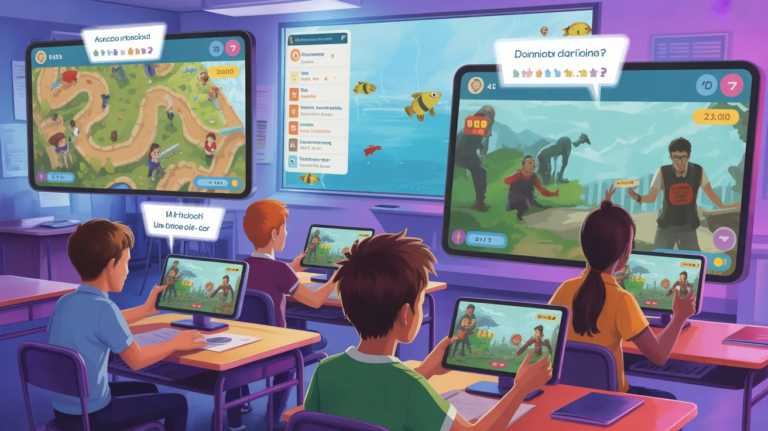
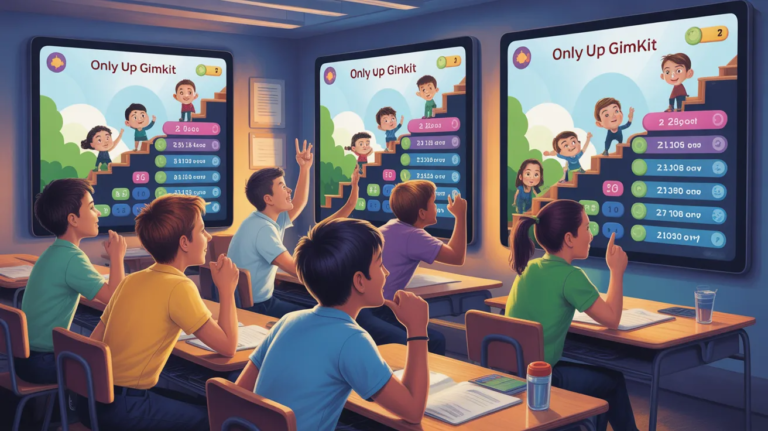
The best part about when you make Gimkit is picking the game mode. You aren’t stuck with just one way to play. There is “Classic Mode,” which is a race to see who can earn the most money. But there are also modes like “The Floor is Lava,” where everyone has to work together to stay safe.
If you want to make Gimkit extra fun, try “Trust No One.” This mode is inspired by games like Among Us. Students have to answer questions to find out who the “imposter” is. It adds a huge layer of social strategy that keeps the energy high in the room.
Step 5: Launching a Gimkit Live Session
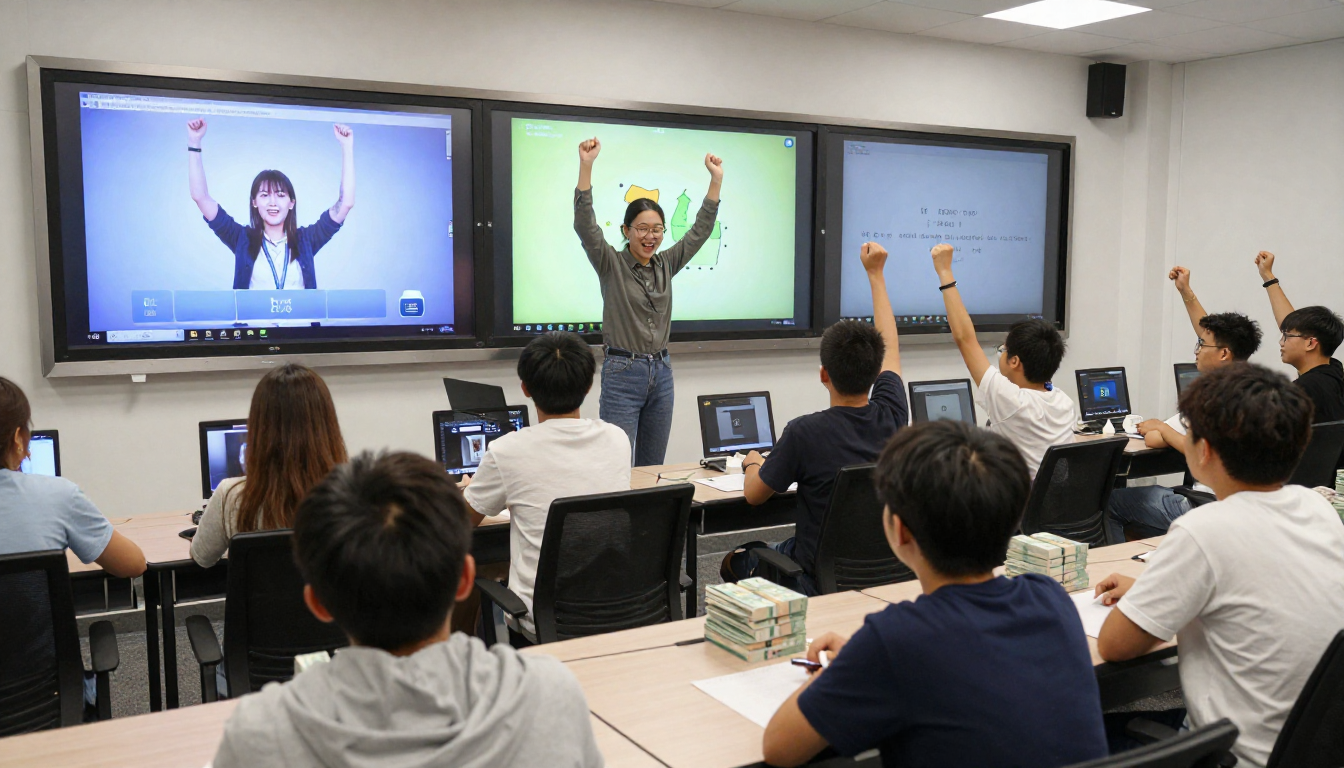
Once your Kit is ready, it is time to go live! Click the “Play Live” button. This will start a Gimkit Live session. A big code will pop up on your screen. Your students will go to the join site, enter that code, and pick a fun nickname.
When you host Gimkit Live, you are the boss. You can set a time limit or a money goal. You can also turn off certain power-ups if things get too crazy. Watching the leaderboard change in real-time during Gimkit Live is the most exciting part for the kids!
Step 6: Understanding the In-Game Economy
When students play the games you make Gimkit style, they earn “money” for every right answer. But be careful—they lose money if they get a question wrong! This teaches them to be careful and not just guess.
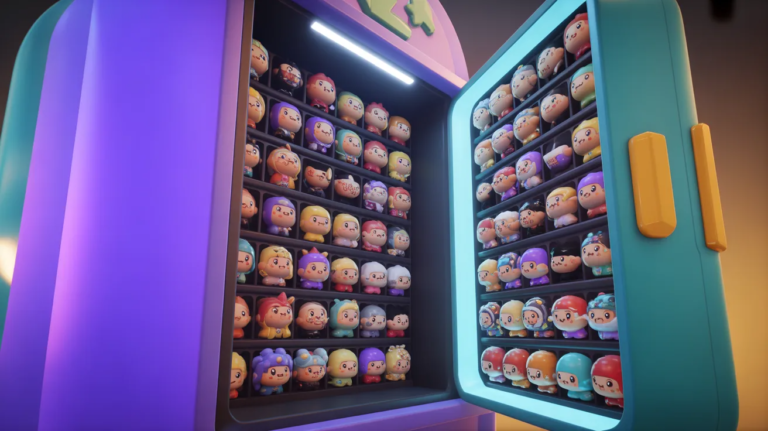
They can spend their cash in the “Shop.” This is where they buy power-ups. Some power-ups give them more money per question, while others let them “freeze” their friends’ screens for a few seconds. It sounds mean, but it is all in good fun and keeps everyone engaged.
Step 7: Creating Assignments for Homework
You don’t just have to play together in class. You can make Gimkit an assignment for homework too! Instead of a boring worksheet, students can play through the Kit at home at their own pace. They still get to earn money and buy upgrades.
To do this, go to your Gimkit Home and click “Assignments.” Pick the Kit you want to use and set a deadline. You will get a report later showing you who finished and which questions were the hardest for them. It is a great way to see what you need to teach again the next day.
Step 8: Using KitCollab for Teamwork
One of the coolest ways to make Gimkit is to let the students help! There is a feature called “KitCollab.” When you turn this on, students can submit their own questions to the game. You get to review them and say “yes” or “no” before they are added.
This is a powerful learning tool. When students have to write their own questions, they really have to understand the material. It makes them feel like they are part of the game-building process. Plus, it saves you a lot of work!
Step 9: Personalizing Your Game Experience
Don’t be afraid to get creative when you make Gimkit! You can change the music, the themes, and even the speed of the game. If you have a Pro account, you can even upload your own sounds. Imagine your voice shouting “Correct!” every time a student gets an answer right.
Personal touches make the game feel special for your specific class. If you are a history teacher, you could use a “spooky” theme for a lesson on the Middle Ages. If you teach science, maybe use a futuristic space theme. These small details keep students coming back for more.
Step 10: Analyzing the Data for Better Learning
After the game is over, the learning doesn’t stop. When you make Gimkit games, you get a “Class Report” at the end. This shows you exactly how the class performed. You can see a “Heat Map” of which questions were missed the most.
This data is gold for teachers. If you see that 80% of the class missed question five, you know you need to explain that topic again. It helps you be a better teacher because you know exactly where your students are struggling.
Conclusion: Start Building Today!
Learning how to make Gimkit games is one of the best things you can do for your classroom or study group. It turns a stressful test day into a fun game night. Whether you are using Gimkit Live for a high-energy competition or checking Gimkit Home for homework progress, the results are always the same: happy, engaged learners.
So, what are you waiting for? Head over to your dashboard and make Gimkit the highlight of your next lesson. Your students will thank you, and you might even find yourself having a little fun too!
Frequently Asked Questions (FAQs)
1. Is it free to make Gimkit games?
Yes! There is a free version called “Gimkit Basic.” It lets you create Kits and play live games with up to a certain number of students. If you want unlimited features and more game modes, you can upgrade to a Pro account.
2. How do students join my Gimkit Live game?
Students don’t even need an account to play! They just go to the Gimkit join page on their device, enter the special code you give them, and type in a name. It works on phones, tablets, and computers.
3. Can I use Gimkit for any subject?
Absolutely! You can make Gimkit for math, science, history, or even gym class. Since you write the questions yourself, the possibilities are endless. It is great for vocabulary and facts.
4. What is the difference between a Kit and a Game?
A “Kit” is the set of questions you create. A “Game” is what happens when you take that Kit and choose a mode (like Classic or Humans vs. Zombies) to play with your students.
5. Where do I find my saved games?
Everything you create is saved in your Gimkit Home dashboard. You can organize them into folders so they are easy to find when you need them for different classes.
6. Can students make Gimkit kits too?
Yes, they can! Students can create their own accounts to make Kits for studying. This is a great way for them to practice for big exams or projects.