Gimkit Step-by-Step Guide to Making Your Own Games
Learning in school does not have to be boring or feel like a chore. Imagine a world where your homework feels more like playing a video game with your best friends. This is exactly what happens when you use gimkit. It is a special learning tool that turns lessons into high-energy challenges. One of the best parts of this platform is the ability to use gimkit create. This feature allows anyone to build their own custom “Kits,” which are essentially sets of questions. When you start to gimkit create, you are taking control of the classroom experience. You can choose the topics, the difficulty, and the overall vibe of the game. I have seen teachers and students transform a quiet room into a place of cheering and strategy just by launching a single game. It is truly a game-changer for modern education.
Why You Should Start to Gimkit Create Today
If you are looking for a way to make facts stick in your brain, you need to gimkit create. Traditional flashcards are okay, but they often lack excitement. When you use the gimkit create tool, you are building an interactive economy. In a gimkit game, students earn “money” for every correct answer they give. They can then spend that money on upgrades, power-ups, or even “sabotage” to slow down their classmates. By choosing to gimkit create a new set, you are providing a space for healthy competition. This makes students want to learn the material so they can win the game. It is a brilliant way to use psychology to help people remember important information without feeling stressed or overwhelmed.
A Quick Look at the Gimkit Creator Profile
| Detail | Information |
| Tool Name | Gimkit Create |
| Main Platform | gimkit |
| Primary Goal | Interactive Learning & Engagement |
| Creator | Josh Feinsilber |
| Difficulty Level | Very Easy (Perfect for all ages) |
| Key Features | Question Import, Flashcard Conversion, Customization |
| Cost | Free and Pro Versions Available |
Step 1: Accessing the Gimkit Create Dashboard
The first thing you need to do is log into your account. Once you are on the main page, look for the big button that says “New Kit.” This is the gateway to gimkit create. Clicking this button starts your journey into game design. The dashboard is very clean and easy to navigate, even for people who are not tech-savvy. When you gimkit create, the system asks you for a name for your kit. You should pick something catchy that tells players exactly what they are about to learn. For example, instead of “History Quiz,” you could name it “Time Travel Adventures.” This small step makes the gimkit experience feel much more like an actual video game from the very beginning.
Step 2: Choosing Your Topic and Language
After naming your project, you must select the subject. When you gimkit create, you can choose from many categories like Math, Science, or Language Arts. You also get to pick the primary language for your questions. This is great for teachers who are teaching Spanish or French. The gimkit platform is very inclusive and wants to help everyone succeed. Selecting the right category helps the system suggest relevant images or tags later on. Even if your topic is very specific, like “How to Care for a Pet Hamster,” you can still gimkit create a masterpiece. This flexibility is why so many people love using gimkit every single day in their classrooms.
Step 3: Adding Questions Manually
Now comes the part where you add the actual content. When you gimkit create, you have the option to type in each question one by one. You write the question and then provide several answer choices. Make sure to mark the correct one so the game knows who earns the money! I always recommend using simple language here. Since gimkit is fast-paced, players need to read the questions quickly. If you gimkit create questions that are too long, students might get frustrated. Keep your sentences short and your answers clear. This ensures that the focus remains on the fun and the learning rather than struggling to understand the text on the screen.
Step 4: Using the Flashcard Import Feature
One of the coolest “pro tips” for using gimkit create is the import feature. If you already have a list of words or facts on a site like Quizlet, you can bring them over instantly. You do not have to type everything again! This saves a huge amount of time for busy teachers and students. When you gimkit create using an import, the system does the heavy lifting for you. It matches the terms and definitions perfectly. This means you can go from having a boring list of notes to a fully functional gimkit game in less than two minutes. It is a very efficient way to build a large library of games without spending hours on a computer.
Step 5: Adding Images and Audio for Better Flow
To make your game look professional, you should add some visuals. When you gimkit create, you can attach images to your questions. This is very helpful for visual learners. For example, if you are asking about a specific shape, you can show a picture of it. You can also add audio if you want to help students with their pronunciation. Using these multimedia elements when you gimkit create makes the game feel more alive and interesting. A gimkit with colorful pictures is always more popular than one with just plain text. It keeps the students engaged and helps them associate images with the facts they are learning, which is great for their memory.
Step 6: Setting the Game Mode and Rules
Once your questions are ready, you can choose how the game is played. gimkit is famous because it has many different game modes. You can play “Classic,” where everyone competes for the most money. Or you can try “Trust No One,” which is inspired by social deduction games. When you gimkit create, you can decide which mode fits your lesson best. Some modes are great for teamwork, while others are better for individual practice. Setting these rules is a vital part of the gimkit create process. It allows you to tailor the energy level of the room. If you want a calm session, pick a steady mode. If you want high energy, pick a mode with lots of power-ups!
Step 7: Collaborating with Other Creators
You do not have to work alone when you use gimkit. You can actually share your kits with other people. If a fellow teacher wants to use your game, you can send them a link. This collaborative spirit is what makes the gimkit community so strong. When you gimkit create, you are contributing to a massive library of knowledge that others can benefit from. You can also search for kits created by other users and edit them to fit your own needs. This “remixing” is a core part of the gimkit create culture. It encourages sharing and helps everyone save time while still providing top-quality educational content for their students and friends.
Step 8: Playing and Testing Your Kit
Before you show your game to a large group, you should test it yourself. Use the preview mode in gimkit create to see how the questions look on the screen. Check for any typos or mistakes in the answer choices. It is always a good idea to play through a few rounds to ensure the timing feels right. When you gimkit create, you want the experience to be smooth and bug-free. Testing also helps you see if the difficulty level is appropriate for your players. If it is too hard, you can jump back into the gimkit create editor and simplify the wording. A well-tested game leads to much happier players and a better learning environment for everyone involved.
Step 9: Tracking Progress with Detailed Reports
After the game is over, the learning doesn’t stop. gimkit provides amazing reports that show you how everyone performed. You can see which questions were the easiest and which ones were the hardest. This data is very valuable for teachers. When you gimkit create a set and play it, you get an instant “health check” on what the students actually know. If everyone missed question five, you know you need to teach that topic again tomorrow. This feedback loop is why gimkit is more than just a game; it is a powerful diagnostic tool. It turns the results of your gimkit create efforts into actionable data that improves grades and understanding.
Conclusion: Start Your Creative Journey
In conclusion, learning how to gimkit create is one of the best things you can do for your classroom or study group. It turns boring memorization into an epic adventure filled with strategy and fun. By following the steps in this guide, you can gimkit create high-quality games that everyone will love to play. Remember to keep your questions simple, use lots of images, and try out different game modes to keep things fresh. The more you use gimkit, the more you will see how it motivates people to learn. So, what are you waiting for? Head over to the dashboard and start to gimkit create your first project right now. You will be amazed at how much fun learning can be!
Frequently Asked Questions (FAQs)
1. Is it free to use Gimkit Create?
Yes, you can use the basic features of gimkit create for free! There is a “Pro” version that offers more game modes and extra features, but the standard version is perfect for getting started and making great kits for your class.
2. Can students use Gimkit Create to make their own games?
Absolutely! Students love to gimkit create their own sets to help their friends study. It is a great way for them to take ownership of their learning and practice their research and writing skills in a fun way.
3. How many questions should I include in a Kit?
When you gimkit create, it is best to have at least 15 to 20 questions. This ensures that the questions don’t repeat too quickly during a game. If you have a longer game session planned, you might want to add even more.
4. Can I add YouTube videos to my questions?
While you can add images and audio, direct YouTube video embedding is limited. However, you can use the gimkit create tools to link to helpful resources or use descriptive images to explain complex topics to your players.
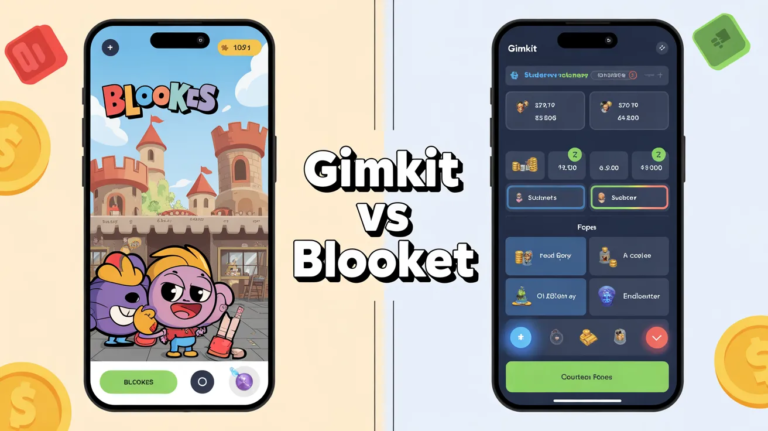
5. Is Gimkit better than other quiz games?
Many people think gimkit is better because of its “in-game economy.” Players don’t just answer questions; they manage their money and buy upgrades. This added layer of strategy makes it much more engaging than a standard multiple-choice quiz.
6. Does Gimkit work on mobile phones and tablets?
Yes! Once you gimkit create your game, it can be played on almost any device with an internet connection. This includes smartphones, tablets, and laptops, making it very easy to play at home or in the classroom.